-
JADX > Décompiler du Java d’une application android Dex et apk
https://github.com/skylot/jadx
—
jadx (Dex to Java decompiler) is a CLI/GUI tool to produce Java source code from Android Dex and APK files.
Installation
git clone https://github.com/skylot/jadx.git
cd jadx
./gradlew dist
Usage
CLI
./build/jadx/bin/jadx [options] <input file> (.dex, .apk, .jar or .class)
-doutput directory-jprocessing threads count-rdo not decode resources-sdo not decompile source code-esave as android gradle project--show-bad-codeshow inconsistent code (incorrectly decompiled)--no-replace-constsdon’t replace constant value with matching constant field--escape-unicodeescape non latin characters in strings (with \u)--deobfactivate deobfuscation--deobf-minmin length of name--deobf-maxmax length of name--deobf-rewrite-cfgforce to save deobfuscation map--deobf-use-sourcenameuse source file name as class name alias--cfgsave methods control flow graph to dot file--raw-cfgsave methods control flow graph (use raw instructions)-fmake simple dump (using goto instead of ‘if’, ‘for’, etc)-vverbose output-hprint this helpGUI
$ ./build/jadx/bin/jadx-gui
—
Installing Java
sudo apt install default-jre default-jdkNote that the JADX GitHub mentions “JDK 8 or higher must be installed” but I ran both commands above just in case. JRE is the Java Runtime Environment, which allows running Java code. JDK is the Java Development Kit and this allows access to Java’s development kit. JDK should contain JRE as well per online resources, though I didn’t run into issues in running both commands.
Finally, run the following command to ensure you have Java 8 or higher
java -versionInstalling JADX
Still within the APKAnalysisTools folder (or whatever you named your directory), follow the three commands listed under the “Build from source” section. Note that the use of “git” is required. You’ll need to install git prior, run:
sudo apt install gitAfter getting git, run:
git clone https://github.com/skylot/jadx.gitcd jadx./gradlew distFrom here, you’ll have a few directories that house different content. In order to use the graphical version (GUI), you’ll need to call “jadx-gui” from within the “build/jadx/bin/” directory. That can get a bit messy depending on what command you run; I suggest creating an “alias” for this. This can be done by running:
alias jadx-gui=’~/<directoryName>/jadx/build/jadx/bin/jadx-gui’This essentially creates a command called “jadx-gui” and assigns it the value of where the actual jadx-gui command is located. To be clear, instead of having to be in the “../jadx/build/jadx/bin/” directory, you can call jadx-gui from wherever you are. Note that the aliased command is tied to the current user you performed this as. If you have other users, they’ll need to do the same or do one of the other options that’d make this aliased command available but that’s beyond the scope of this post.
Using JADX
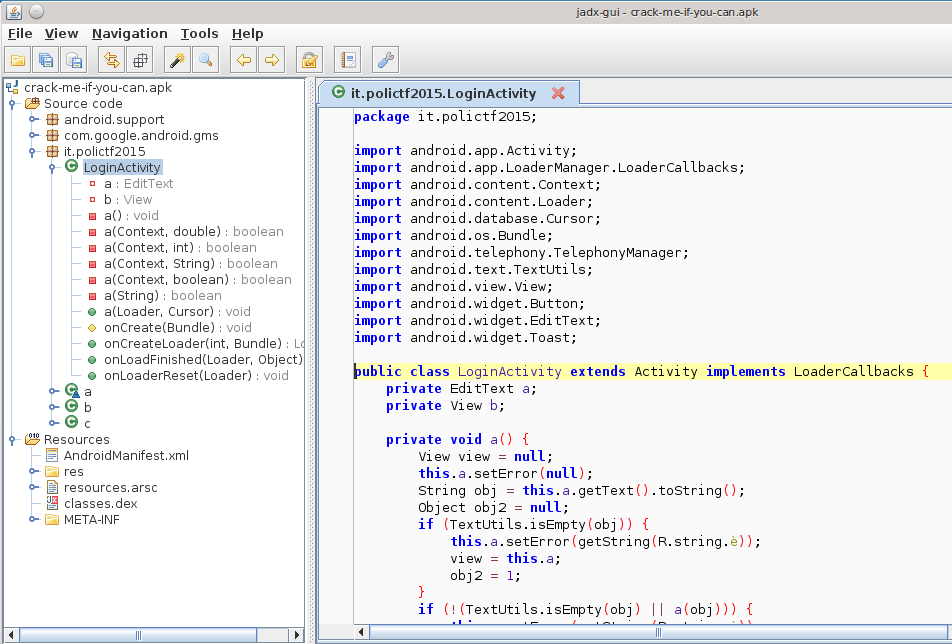
If you creat an aliased command, simply type in “jadx-gui” in the terminal and you should be presented with the GUI version of JADX. See Figure 1 for reference.

From here, target an APK you’d like to further investigate. You can see the hierarchy in the left windowpane and the main windowpane is empty. In using my sample “Hello World” APK I created, I see a few options that resonate with android packages, but I also see my package name as well. The android folders contain the development kit code used in my app. For the most part, I’d say it’s safe to skip these and look at the package name’s folder to see the code the author wrote. Within an APK, the “MainActivity” is generally the introduction point a user is presented with when running an app on their mobile device. Since this app is simple, there is just three Java classes listed to which I personally only wrote one in this case.

you can see I drilled into the “com.proofofconcepts…” folder and there are the three Java classes. “R” and “BuildConfig” are defaults, “MainActivity” is the only class I authored. The presented code seems pretty easy to read, it’s in Java after all! However, if you’re curious of the Dalvik bytecode (aka Smali, as seen as one of the bottom-two tabs of the main windowpane), I urge you to check it out. Figure 3 shows the distinct contrast between Java source code and the Smali source code.

I don’t know about you but I think the Smali code is much more difficult to read. The sample app I used isn’t terribly difficult to follow along with, but if you look at other published apps, the logic gets more difficult to follow. Also, bear in mind that some developers obfuscate their code for legitimate reasons, while malicious threat actors do so to complicate the reverse engineering process. As a reminder, obfuscation is the act of making source code much more difficult to read.
Conclusion
That’s it for this post. In summary, this blog post covered how to get set up using JADX, which is a tool that produces Java source code from Android DEX and APK files. The process covers getting Java and git installed prior to obtaining the JADX source code. I also threw a little bonus in and showed you how to create an aliased command to save you a few keystrokes!
Once we got JADX GUI open, we took a sneak peek at my Hello World APK and contrasted Smali code from Java source code. While this sample may have been easier to follow along with, some larger APKs are quite difficult to follow. One thing that I didn’t mention is that JADX automatically converts an APK into a readable format, so there isn’t a need to do anything prior. Simply run JADX, open an APK, and analyze away!
—
—
